
How to: Plan a Photography Backpacking Trip

Winter is the perfect time to start planning your next big backcountry photography adventure. While some trips require early permits, like those in highly regulated national parks, the bulk of my planning doesn’t begin in earnest until the new year. Over time, I’ve learned that flexibility is key. With changing weather patterns and the increasing frequency of wildfires, committing to a specific plan too early can lead to missed opportunities or cancellations. Instead, I recommend a dynamic approach to planning—prepare thoroughly, but stay adaptable.
Here’s how I plan a successful photography backpacking trip:
1. Outline Your Trip Details
Ask yourself these essential questions:
Where? Narrow down your location—a specific national park, wilderness area, or region. Think about the landscapes you’re most drawn to, whether it’s alpine lakes, dramatic cliffs, or desert canyons. Research the key photographic highlights of each area to help you decide. Planning my backpacking treks usually starts with me knowing the exact destination or area I want to visit and working it out from there.
When? Determine your timeframe based on seasonal weather, photographic opportunities, and your schedule. Timing is everything—consider factors like wildflower blooms, fall foliage, or the position of the Milky Way for night photography. Most of my backpacking trips in the Northern Hemisphere take place between April and November with the bulk mid-June through mid-August.
With who? Decide whether you’re going solo or with a group and ensure everyone’s goals align. If you’re traveling with others, discuss each person’s priorities to create a plan that works for everyone. Many of my backpacking trips in Colorado and the Desert Southwest are solo but in far remote regions like Alaska, full of grizzly bears, I prefer to be with someone. My dog, Glacier, also joins me for most of my treks in the lower 48 but that also limits a lot of places I can go, especially national parks.
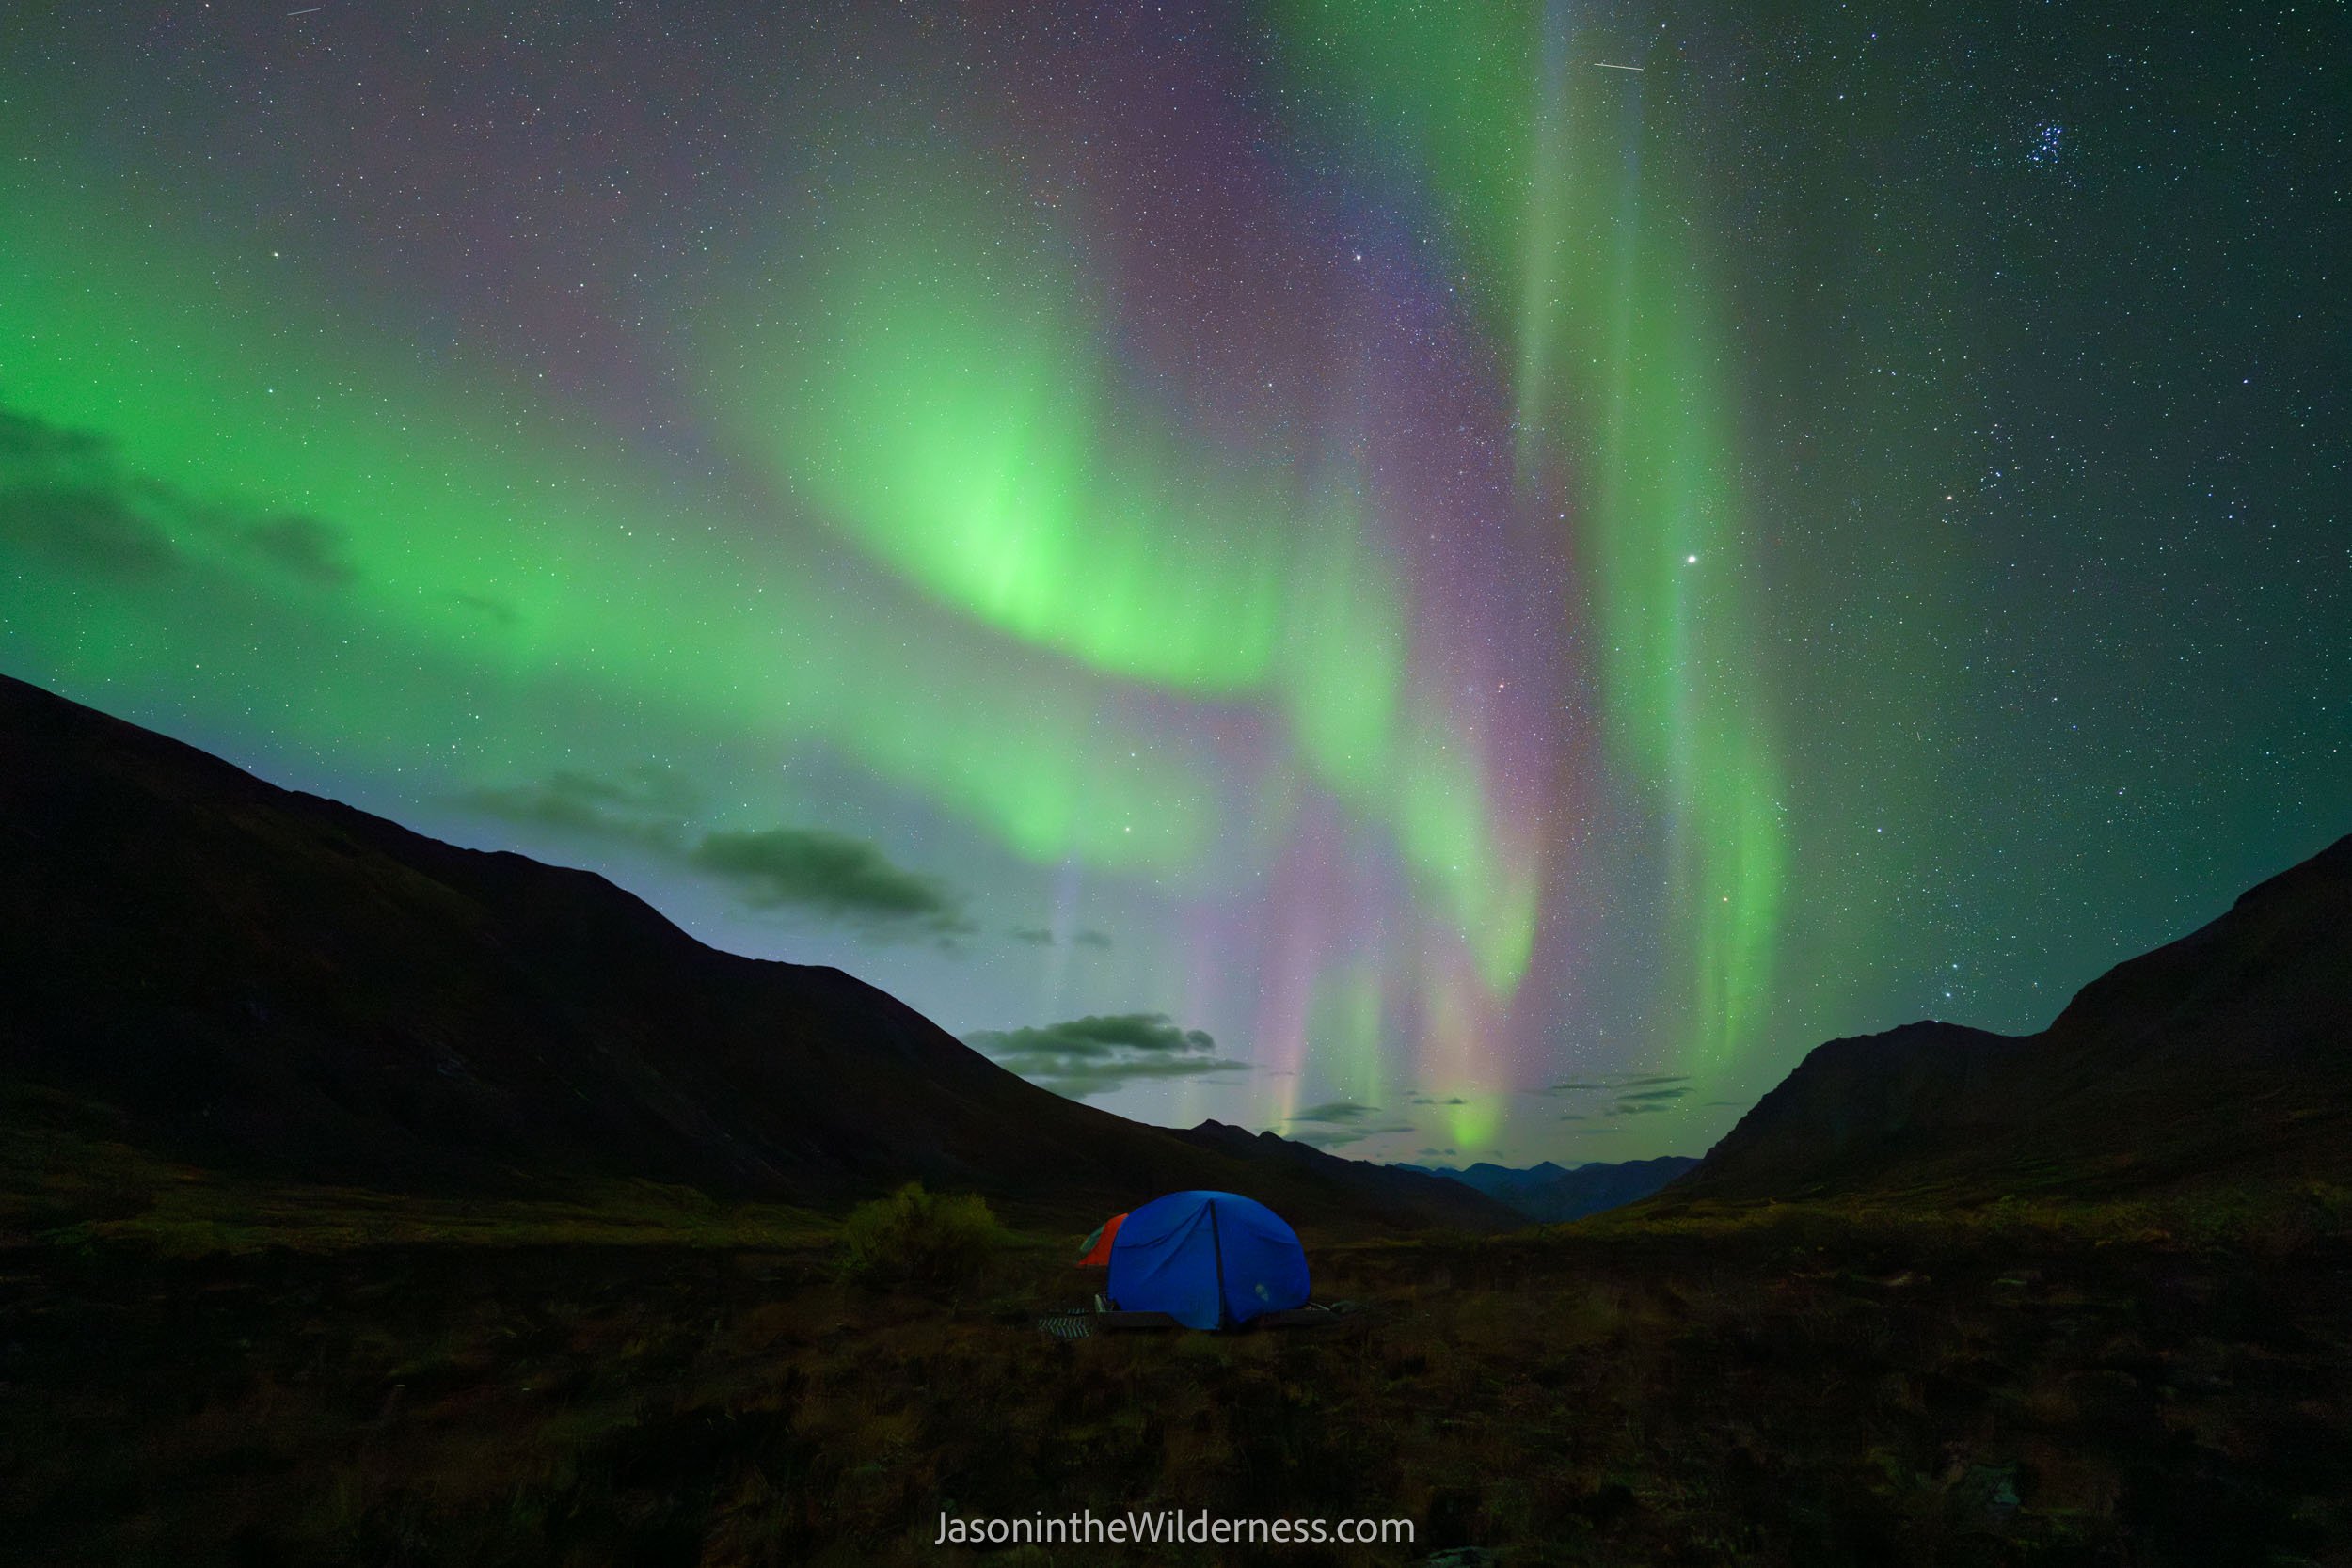
Why? Set a purpose for the trip. Are you chasing wildflowers, capturing auroras or the night sky, scouting locations for a future project? Some of my trips are focused around hiking a specific route or spending time with family/friends, but I look for a photographic goal I can accomplish within that. I try not to set out to recreate specific images I’ve seen, and avoid looking at images from other landscape photographers before the trip for that reason.
Defining these parameters gives your trip a clear focus and makes it easier to move to the next steps.


2. Research Conditions and Accessibility
Knowledge is power, especially in the backcountry. Dive into the specifics of your chosen destination:
Weather and Climate: Understand typical conditions for your planned dates. National Parks will usually have a page on their website that provides general climate information for the year and current weather forecasts. Keep in mind that the weather can swing wildly from these norms, especially in the mountains, and it’s not uncommon to get snow at high altitudes in summer months. My late-August/early-September trips in Alaska and Canada often involve cold weather and lots of precipitation. It’s also important to consider the amount of daylight you’ll have for your trip to determine how far you can go in a day and how much time you’ll have for photography.
Trail Conditions: Check park or public lands websites, FB groups, and outdoor apps for current and historical trail conditions. Searching the web for blog post trip reports can be useful to get an idea of potential conditions; try to focus on the more nerdy blogs vs influencer ones as the information will be more detailed with a greater focus on the conditions of the trek vs selfies at every overlook. AllTrails can be really useful if the trail is popular enough since you can also see previous years conditions in photos as well as more recent written reports.
Permits: Determine if you need permits and apply as early as possible. Most permits will have limitations on group size, camping zones, and area specific regulations. If permits are required be prepared for the years it might take to finally get one, and the very likely event that the weather will not be ideal when your trip finally happens. This is one of the biggest issues with permits, little-to-no flexibility to adapt to the weather or other issues. You can obviously still go but it’s rarely worth it for your health and safety. I’ve had to cancel a backpacking trip in Glacier NP due to wildfire smoke, got stuck in a 110º heat dome in Zion, and had to endure a lot of dangerously wet and cold nights.
Wildlife and Bugs: Be prepared to carry bear-spray in grizzly territory but keep in mind you can’t fly with it and will have to buy it locally. Identify any other potential wildlife issues like rodents, curious mountain goats, obnoxious mountain parrots, and the worst offenders, mosquitos and ticks! I try to time my backpacking trips in the mountains to avoid peak mosquito season but unfortunately that often lines up with peak wildflowers so I can’t always do that. I generally avoid backpacking in areas with a heavy tick presence, especially with the current prevalence for them to carry life-altering diseases.
Vegetation: Learn about the plant life you’ll encounter. Certain ecosystems are particularly fragile, so it’s important to tread lightly and avoid damaging sensitive vegetation. Others will involve moving through heavy brush like willows or dangerous flora like cacti.
Accessibility & Remoteness: Evaluate how remote the area is and the logistics of getting there. Consider trailhead access, road conditions, and the availability of emergency services. You might need to take a small plane or boat to reach your destination, or work in mixed methods of travel like a bike or packraft.
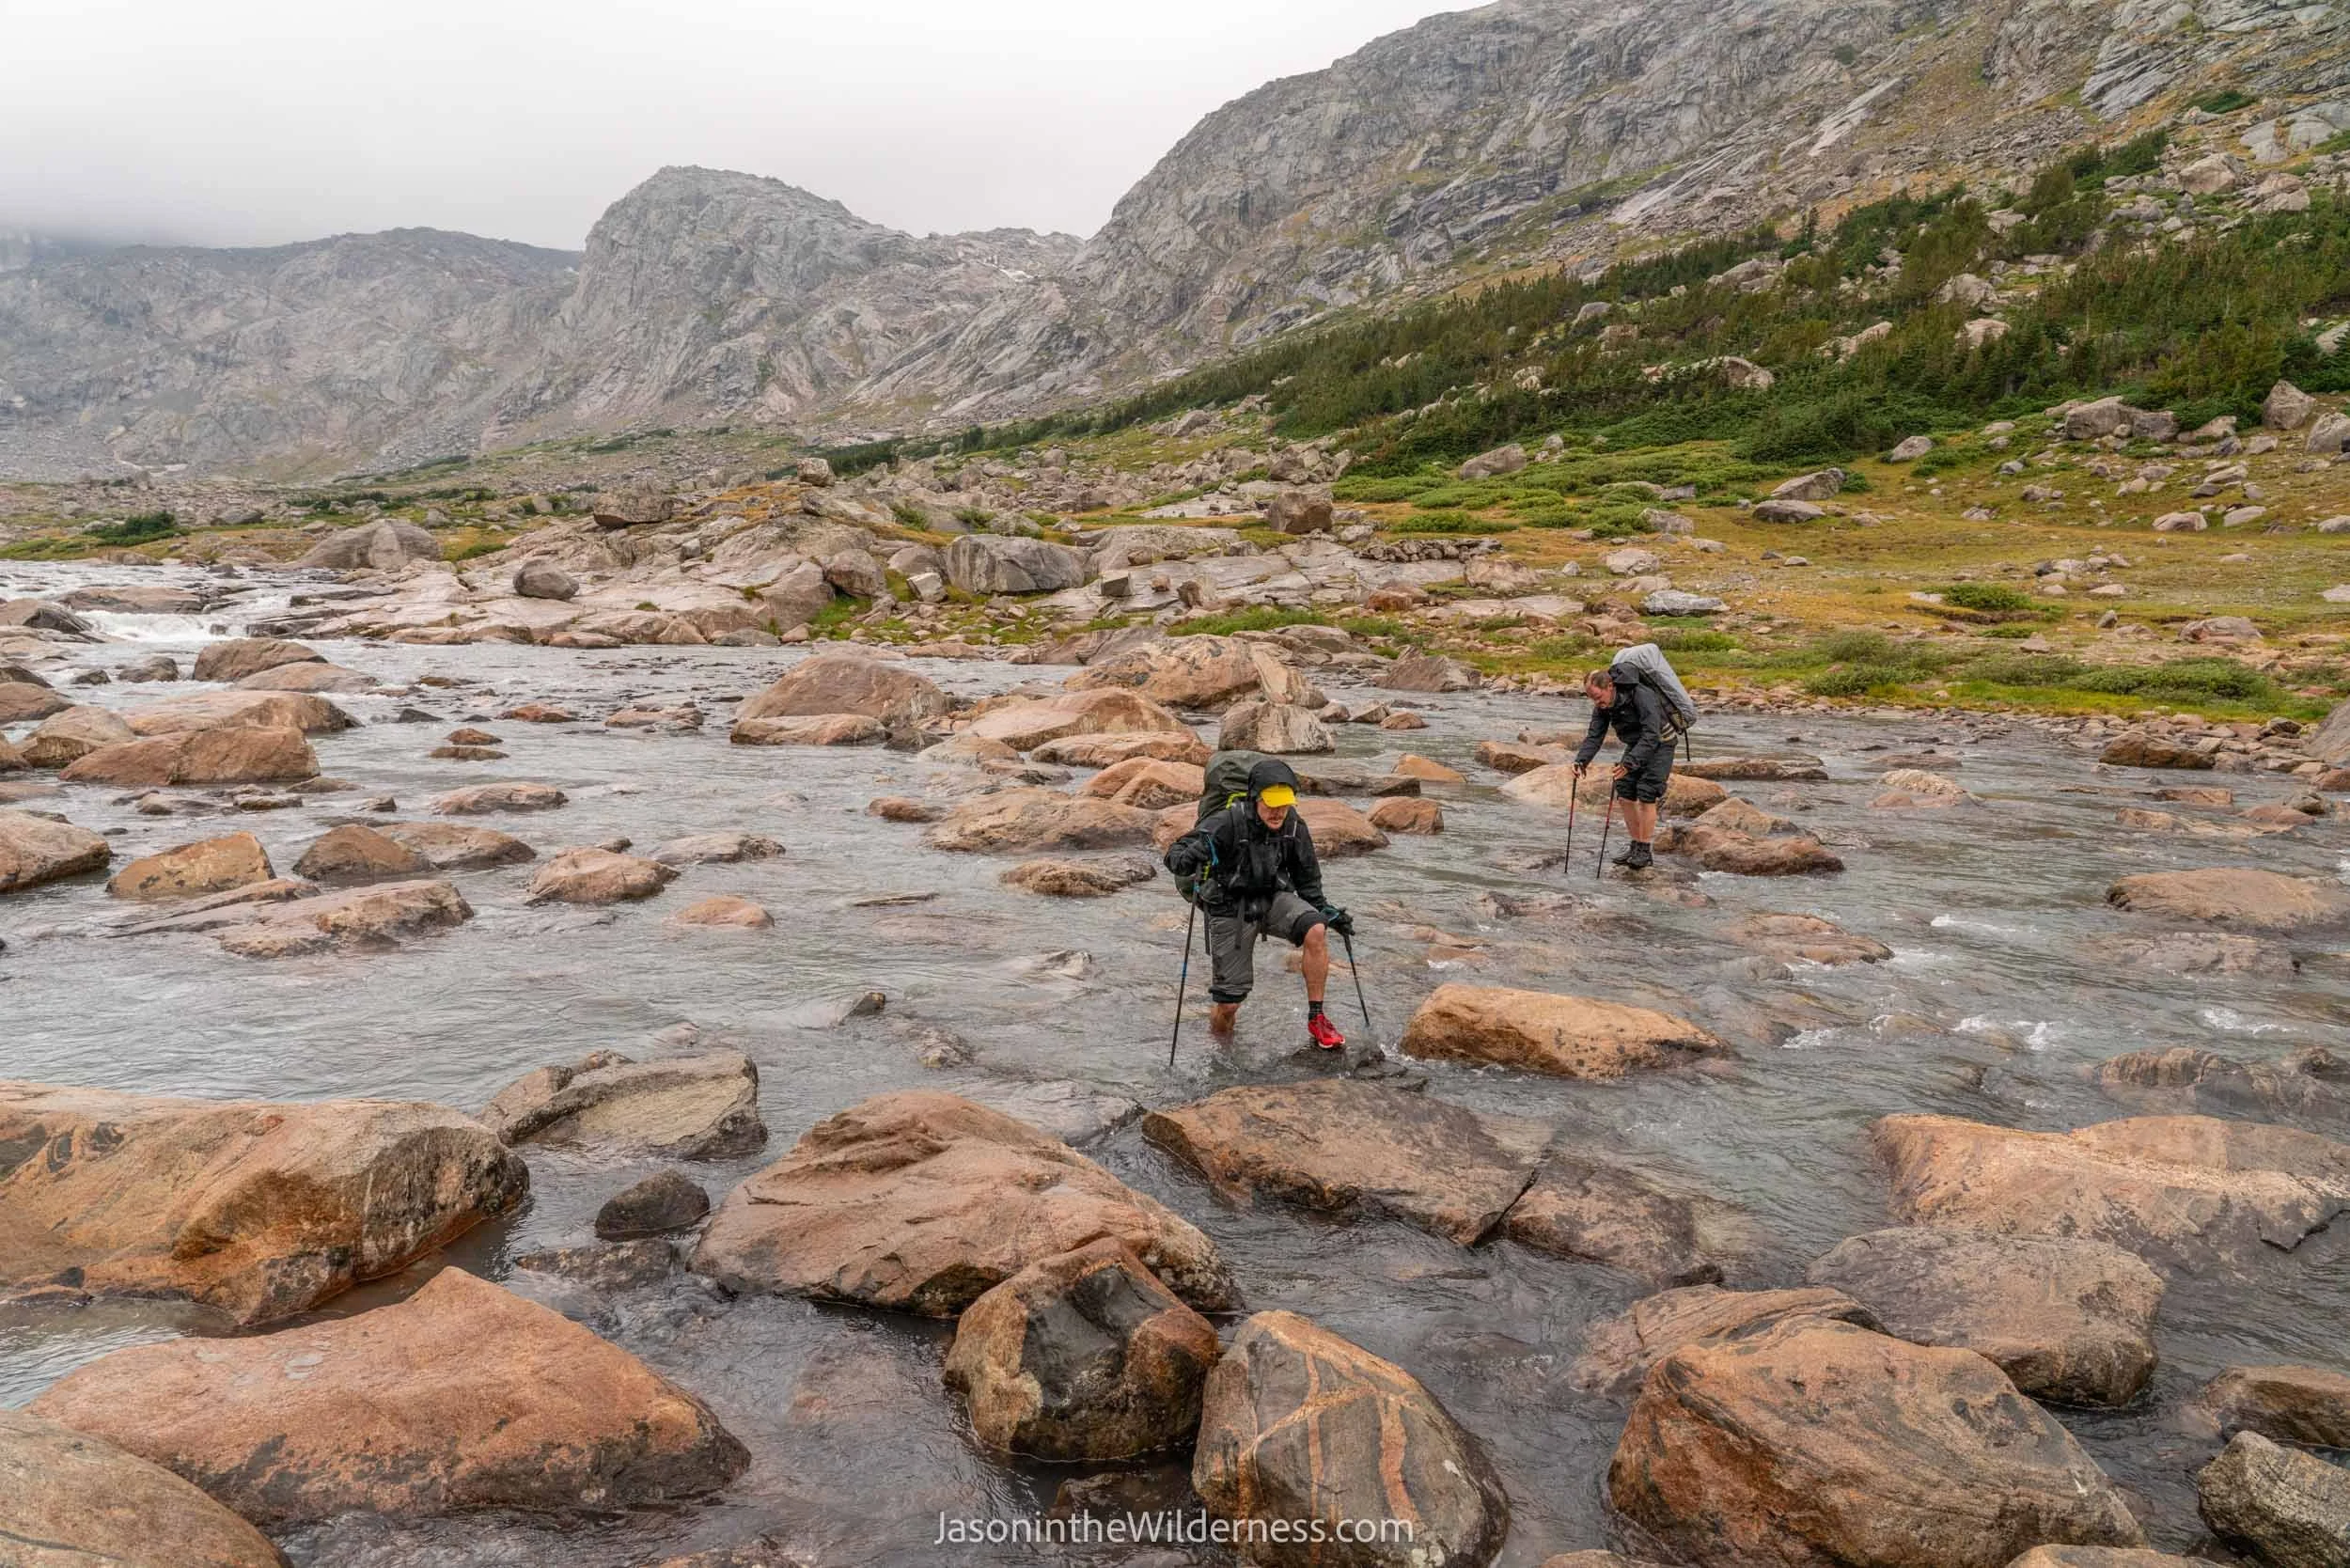
Hazards and Sun Exposure: Identify potential risks such as river crossings, steep terrain, or prolonged exposure to the sun. Plan your route to minimize danger and pack protective gear like sunscreen.
Water Availability: Research the availability of water sources along your route. Use maps and recent reports to confirm reliable streams, lakes, or springs. Always carry a filtration system and know how much water you’ll need between sources.

Leave No Trace (LNT): Familiarize yourself with LNT principles and specific rules for your destination, such as food storage requirements or campfire bans. DO NOT have a campfire in dry windy conditions even if there’s no ban, all it takes is one campfire to burn down a whole area and ruin it for everyone. I almost never have a fire while backpacking and try to dismantle any disused or illegal fire rings I find.


3. Develop a Photographic Goal and Itinerary
To maximize your chances of capturing the images you envision:
Set Clear Goals: Decide on the type of shots you want. Landscape? Night Sky? Wildlife? Adventure & Travel? Have a good idea about what you hope to achieve but open to different possibilities when you’re on your trek.
Plan Your Itinerary: Outline daily mileage, campsites, and key photographic locations. Consider sunrise and sunset timings, as well as the positioning of notable landmarks or natural features. Build in time for scouting and spontaneous shooting—sometimes the best shots come from unplanned moments. Be flexible enough to adjust your schedule if you find a particularly photogenic spot or if weather conditions change unexpectedly.
Map It Out: Use GPS apps like GaiaGPS or CalTopo to create detailed maps of your route, or carry a reliable paper map as a backup. Knowing your route well ahead of time can prevent unnecessary detours and wasted time. I grew up on paper maps but much of my navigation is now off-trail so I rarely use them anymore, I’ll remember the way out if my phone fails and it’s much easier to adjust my route on the fly with a digital mapping app.
4. Select Gear and Supplies
Packing for a photography backpacking trip requires more work to balance gear weight and comfort. Here’s how I approach gear selection:
Backpacking Gear: Focus on lightweight, reliable equipment. A well-fitted backpack, quality tent, warm sleeping bag, and functional cooking system are essentials. Since photographers often carry additional weight in camera gear, it’s critical to invest in ultralight backpacking gear. For example, opt for a tent that weighs under three pounds, a down sleeping bag with high warmth-to-weight ratio, and a compact cooking system with a titanium pot. Even your backpack should be carefully selected for its weight and ergonomic design to distribute the load comfortably. Prioritize multipurpose items—such as a puffy jacket that you can use as a pillow—to further save on weight and space.
Photography Gear: Pack only what you need. For me, this includes a mirrorless full-frame camera, 2-3 lenses, extra batteries, a tripod, accessories, and a weatherproof chest pouch. (I used to use peak design shoulder strap clips but they don't offer your camera any protection and create uneven weight distribution) Choose lightweight lenses with versatile focal ranges to avoid carrying unnecessary bulk. I typically carry a 24-105 f/4 and ultra-wide lens like my 16-35mm f/2.8 or 14mm f/1.8. I use ultra-light carbon fiber tripods under 2.5 pounds that I've tested for stability. Protect your gear inside padded pouches or clothes, and have a waterproof cover that fits your backpack.
Food and Supplies: Plan for calorie-dense meals, snacks, and plenty of water or a filtration system. Freeze-dried meals are excellent for their lightweight, compact design and high caloric content. Include quick-energy snacks like trail mix or energy bars for long hiking days. Don’t forget first aid supplies, navigation tools, and personal essentials. Opt for compact, lightweight items whenever possible, such as a minimalist first aid kit and a multi-tool that replaces multiple single-use items. By carefully curating your food and supplies, you can maintain the energy and focus needed for a successful photography trip while keeping your pack weight manageable. Dried fruit, candy bars, plantain chips, and ramen packages are all common things I carry. I usually opt for a simple no-cook breakfast to have enough time for photography.

5. Prepare for the Trip
The final step is ensuring you’re ready for the challenges of the trail:
Skills: Brush up on backcountry navigation, first aid, and photography techniques. Practice using your gear at home to ensure everything works as expected. Learn how to use features like GPS devices or apps, and familiarize yourself with trail markers and maps. It’s also helpful to practice taking photos in conditions similar to those you might encounter on the trip, like low light or extreme cold.
Fitness: Condition yourself with hikes or workouts that simulate your trip’s demands. Focus on building endurance and strength, especially if you’ll be carrying a heavy pack. Incorporate carrying weight on your back however you can in your daily life; I typically use long photography hikes with a loaded camera pack for the bulk of my training. I’m also active in cycling, skiing, running, and a lot of other outdoor activities. Pay attention to core and leg strength, as they are critical for stability on uneven terrain.
Permits and Logistics: Finalize your permits, transportation, and any reservations. Double-check deadlines and requirements to avoid surprises. Research parking or shuttle options for the trailhead and confirm operating hours for visitor centers or ranger stations. Make sure you have copies of all permits saved digitally and in hard copy.
Backup Plan: Choose an alternative destination in a different region in case weather or unforeseen circumstances disrupt your primary plan. Having a Plan B ensures you won’t miss out on adventure even if things don’t go as planned. Be flexible with your itinerary and have pre-researched options that align with your skills, fitness, and photographic goals.
Tip: Leave a copy of your itinerary with someone you trust, including your estimated return date.
Conclusion
Planning a photography backpacking trip is an art that blends logistics, creativity, and adaptability. By defining your goals, researching thoroughly, and preparing both your mind and gear, you’ll set yourself up for a rewarding adventure—even if nature throws all the weather your way. Remember, the journey is as much a part of the experience as the photos you’ll bring home. Each trip is an opportunity to connect with nature, improve your skills, and create lasting memories through your lens. With careful planning and an open mind, your next backcountry adventure could be your most inspiring yet.

Is there anything specific in this post such as gear, weather apps, etc that you’d like me to cover in more detail in a future post? Let me know in the comments below!